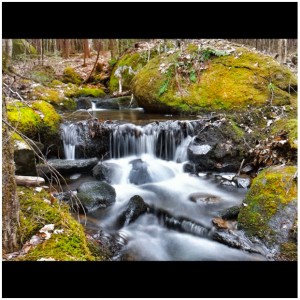
Todays photo journey focuses on how to achieve the long exposure “blur” effect while photographing waterfalls with an iPhone.
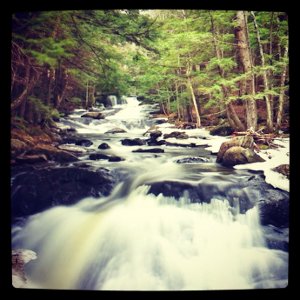
Bicknell Brook in the Upper Valley of New Hampshire.
Every now and then it’s good to get away from hectic pace of everyday life. But I can’t always take a trip for a day, so it’s great to have a place I can go to relax that is close to home. Bicknell Brook Conservation
Area, in the Upper Valley of New Hampshire, is that place for me. A 1.5 mile trail follows along the brook, passing remnants of an old logging mill from the 1800’s. The brook is punctuated with marshes created by beaver dams and wanders through areas of dense pine trees. The real highlight for me is the many waterfalls and cascades along the brook.
Usually, I bring my Nikon D80 with me, but recently I decided to see what kind of images I could capture there with my iPhone. In early March the brook was high with snowmelt and I knew I had to capture the rushing water in the same manner I would as if I were shooting with my Nikon. I wanted to use a long exposure to blur the water , but how do you do that on an iPhone? As with all things iPhone, the secret is in the apps. For this particular application, my go-to app is called SlowShutterCam.
This app allows me to use my iPhone as if it has a shutter priority mode. Using the apps Automatic mode, I chose a shutter speed around 2 seconds long. I tapped the screen on the water to tell the app to expose for the water. The resulting image is a bit underexposed but the water is blurred beautifully. I should note that just as you would with a long exposure on any other type of camera, using a tripod with the SlowShutterCam app is essential if you want your images to be sharp!
After saving the image, I open it in my favorite editing app, Snapseed. After adjusting the sharpness in the Details tab, I open the Drama tab and select the Bright 1 preset. This preset brightens up the underexposed area of the image, usually without blowing out the details in the water too much. I’ll adjust the intensity of this preset as necessary. Then I make some quick global adjustments to the contrast, and saturation in the Tune Image tab. Lastly, I go into the Selective Adjust tab to fine tune the local exposure using control points. That’s it! With the right apps it’s possible to achieve any number of effects just as you would with your fancy DSLR and Photoshop.
Please leave any comments or questions and I will respond ASAP! Also, stay tuned to the website for Photo Journeys from Marc and Keith!
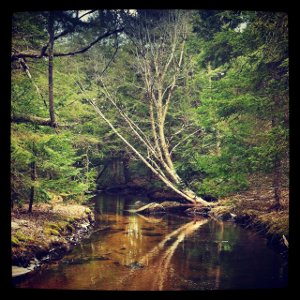
A birch tree reflected in a calm pool on Bicknell Brook.

A great cascade under a bridge on Bicknell Brook.
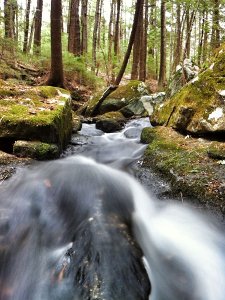
Getting close to water!



 Breaking News! What’s wrong with Instagram today? Complaints and questions from frustrated users are piling up on IG’s Facebook page. Messages to the IG help desk have been un-answered to this point and if you’re dwelling on it, the problems may appear to be becoming more severe.



 Welcome to episode two of the Tiny Shutter Podcast.